In this post, I will show you how we created day and night in our game, as well as how we do the same in our cutscenes. First I will very briefly introduce you to some postprocessing features in Unity, but mainly I will be focusing on OpenToonz shaders and lighting effects and how to use them like a boss.
in the game
There is quite a significant part in the story that takes place during the night. For better gameplay and UX we decided that time should pass automatically rather than players having to find the objects that can switch between day and night. Until now it was just a flag in the code that represents whether we want to apply a shader that turns everything dark blue or not. Now we had to take a different approach beacause certain times of day (e.g. sunset) have a distinct look, so it's not enough to interpolate between just day and night.

Our solution lies with colour grading with Unity's post-processing system. I won't write too much about the specifics of how to put this together in Unity, but you do need to be familiar with the concept before I can explain what we did in OpenToonz. Check out this link if you want to read more on how to do this in Unity.
WHat's Color grading
Color grading is what happens when you adjust the colours of an image, for stylistic purposes. It is your Instagram filters, it is the levels and curves gizmos in your photo editing software, and it is the process of making Vancouver forests look like alien planets in your favourite sci-fi series.
There are a number of things you can do in terms of color grading. We opted to just use a Lookup Texture (or LUT). A lookup texture really is just a list of colours to use instead of the original colours of the image. This how a typical "neutral" (meaning that there's no effect applied) LUT looks:
There are a number of things you can do in terms of color grading. We opted to just use a Lookup Texture (or LUT). A lookup texture really is just a list of colours to use instead of the original colours of the image. This how a typical "neutral" (meaning that there's no effect applied) LUT looks:

Based on the picture above, we created an LUT for our night effect, which looks like this:

So when a frame is rendered in the night setting, the colour of each pixel is getting matched with a colour from the top LUT and then replaced with the corresponding colour from the bottom one. That's the basic idea.
Of course, the actual solution is a bit more complacated than that becasue we don't just suddenly switch colour when the clock hits 10pm, but interpolate usually between 2 LUTs.
We have 8 different setting in our colour grading, defined by times of day. Here are some of them in action.
Of course, the actual solution is a bit more complacated than that becasue we don't just suddenly switch colour when the clock hits 10pm, but interpolate usually between 2 LUTs.
We have 8 different setting in our colour grading, defined by times of day. Here are some of them in action.

Achieving the same in OpenToonz
Obviously, we want to have the exact same look in our cutscenes too! Unfortunately, as of now, there is no built-in option in OpenToonz to use LUTs. So we have to make one.
Before we jump in, here's how my OpenToonz workspace looks. I highlighted the important bits for this post, in case you want to follow along.
I am using the Animation workspace (top right). And I have the Fx Schematic window open (if you don't see the Fx, switch the view with the bottom right button).

Once you have OpenToonz ready, check the folder "OpenToonz stuff\library\shaders". You will find a readme file which tells you the steps and requirements to make your own shader, as well as what you need to do to make your effect show up in the UI, so be sure to check that out in case I have missed something or you have futher questions!
In this shaders folder you will see a bunch of .xml files. This is a definition for the effect box in OpenToonz UI. You will need to add a new xml file for your own effect and fill out the details. My suggestion is to copy an existing one and shape it to fit your needs.
The XML here on the left will result in the box on the right.
The Parameters will pop up in a new window when you doubleclick on the effect box.

Now let's take a look at shaders!
As you can see the XML file refers to a "programs/night.frag". This is where the magis happens. Inside the shaders folder there is a programs folder with .frag and .vert files. While Unity uses DirectX and HLSL for its shaders, OpenToonz uses OpenGL, so you will need to write these files in GLSL, the OpenGL Shading Language. So if you are using any shaders in Unity that you want to use in OpenToonz too and the built-in effects of OT are not enough, you "just" need to rewrite your shader code in GLSL and you're done. Easy-peasy :D
Well, more or less...
So the logic for our night effect is what I described above: check pixel color, change pixel color with the help of an LUT.
A slight challenge we had with the OpenToonz implementation...
We found no way to access the actual size of the LUT within the shader. This is because you can't have a texture as a parameter, so the only way to feed the LUT to the shader is through an input port. This means, you need to add the LUT you use, to the scene, along with you other scene components. The drawback of this is that within your shader code you will have to find the LUT in the camera viewport.

Since all our videos are 1920x1080 and all our LUT textures are 1024x32 pixels, we opted to hardcode these values into the shader to calculate where the LUT is. It's not very nice, but it's a simple solution that works for us.
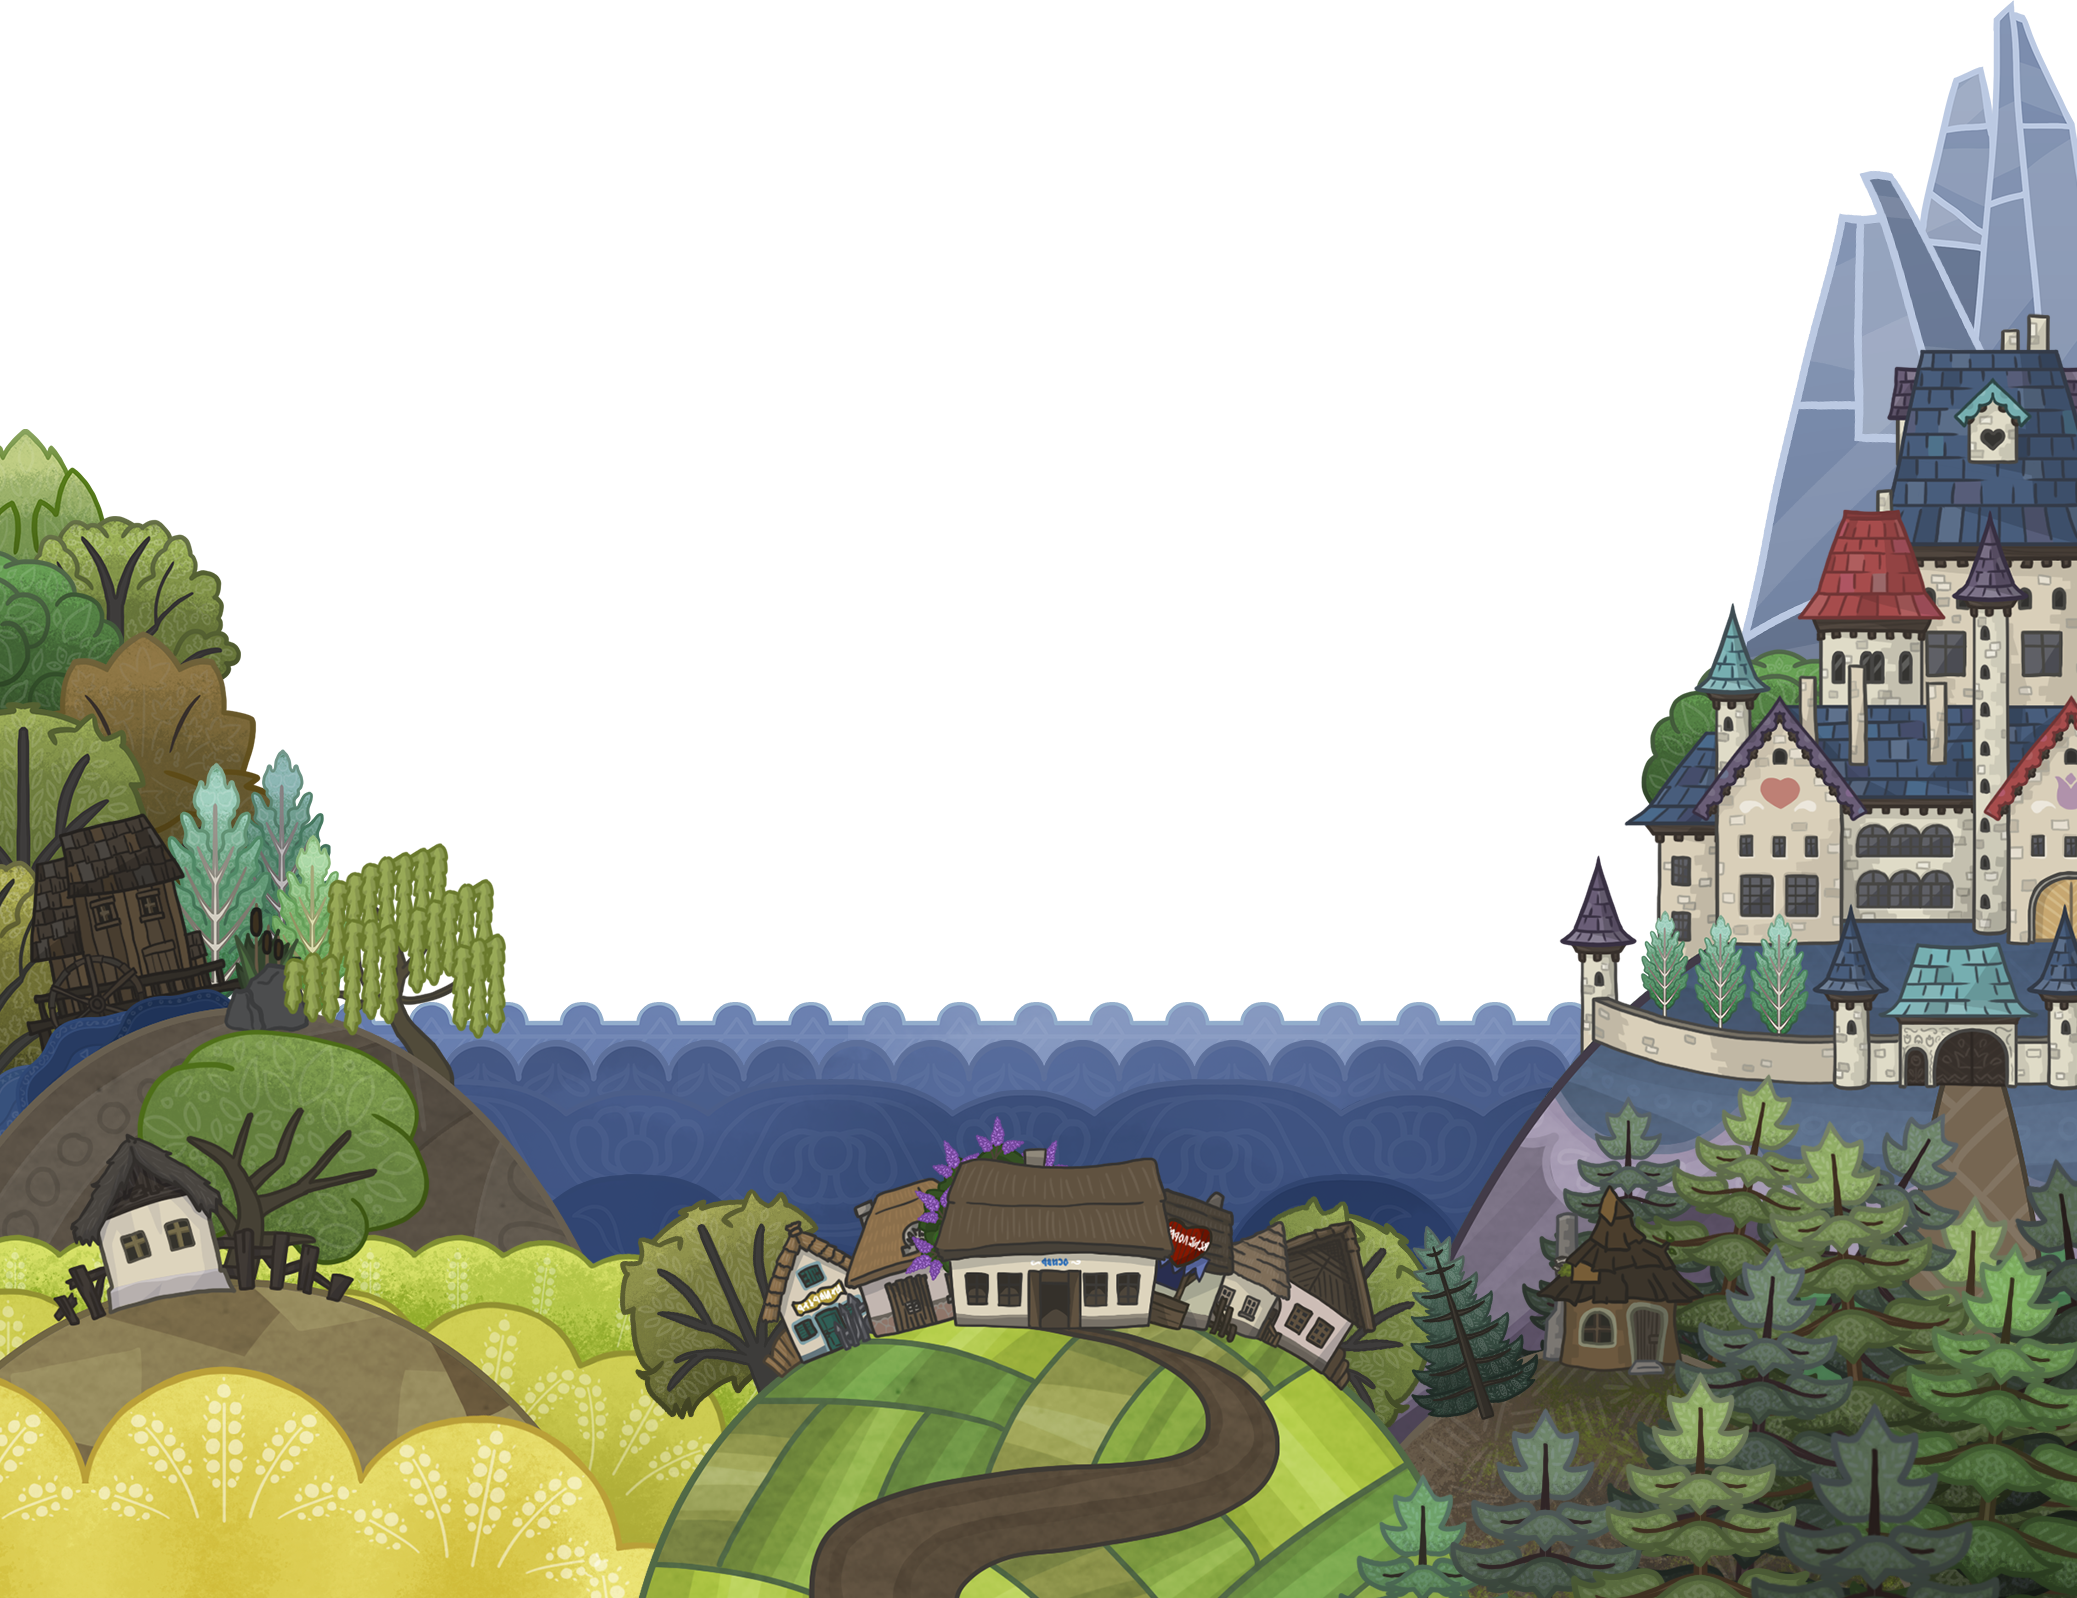
The video I want to show you is about one of the mysteries that players will need to solve: the Wandering Light. I won't spoil the puzzle, don't worry! The Wandering Light is a small flame that appears at night in the village. The video is set in darkness, so after assembling the scene, I just popped in the LUT.
The video I want to show you is about one of the mysteries that players will need to solve: the Wandering Light. I won't spoil the puzzle, don't worry! The Wandering Light is a small flame that appears at night in the village. The video is set in darkness, so after assembling the scene, I just popped in the LUT.

Next thing is to add some lights. First thing I did was to swap the dark layer behind the tavern window panes with a super bright yellowish one. Then I added the Backlit effect to the mix and played around with the parameters until I got what I was looking for.
You can add/insert an effect when you right click in the Fx Schematic view.
Add Fx > Light > Backlit
In the Backlit effect box you will see 2 input ports. Light is the picture that will function as your light source, and Source is the object that will be lit. Don't get those mixed up!
You can see in the picture below that these effects can be combined, e.g. I added a Transparency effect to the lit windows, because will want to start the scene in sunset so the lights coming from inside the tavern should be dimmed first and they should become brighter as the scene progresses into night.
NOTE: This is Transparency and not Opacity. So 100% means that the picture will be invisible. I got that mixed up so many times...
The effect at the end of the line is called "Over", which is just overlaying the source layers on top of each other.
NOTE: In this version of OT (1.4) the Sources will eventually be ordered alphabetically, so just be aware that if you have more than 9 source layers that you wish to use with this effect, you're in trouble...

If I now turn the night effect back on, it applies to the lights too, which is not good. We want to see a sort of halo around the windows where the night effect is cancelled and we should see the original colours of the picture.
This is where the Mask input port comes into play. Whatever is connected to the Mask input will be used to mask out the night effect, based on the alpha of the mask image. So I created another picture for the mask around the windows and plugged it in.
This is where the Mask input port comes into play. Whatever is connected to the Mask input will be used to mask out the night effect, based on the alpha of the mask image. So I created another picture for the mask around the windows and plugged it in.

I also wanted the lights to hit the ground in front of the windows. To do this, I used the Cast Shadow effect. Yep, you read right, it's not a typo. Because the light which is coming from inside the tavern is actually an image, it can be used to cast a shadow and we can use that shadow to act as a light spot, using the Mask input of our night effect!

You can animate any parameters of these effects: opacity, perspective, blur, color, etc. as you wish.
That's basically it. It's just rinse and repeat from here.
To finish this bit I added the Wandering Light (a prerendered animation of a small fire) to the scene, and added a round halo around it to mask out the darkness. And there you have it: the Wandering Light appears in the village.
That's basically it. It's just rinse and repeat from here.
To finish this bit I added the Wandering Light (a prerendered animation of a small fire) to the scene, and added a round halo around it to mask out the darkness. And there you have it: the Wandering Light appears in the village.
Comments